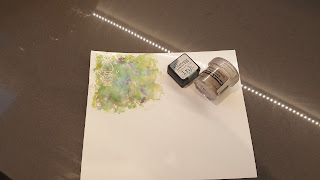
Day 9 with Nathalie Kalbach's Creative JumpStart and we have the fabulous Andrea Gomoll as our muse for the day. Lots of fun background work and layers of colour and texture. I've sketched my version of a chrysanthemum in a vase, watercoloured with distress crayons & dylusions inks.
Showing posts with label Dylusions. Show all posts
Showing posts with label Dylusions. Show all posts
Tuesday, 16 January 2018
Friday, 12 January 2018
CJS18 Journal Page 03
Day 3 with Nathalie Kalbach's Creative JumpStart and our muse is Carolyn Dube. This is a great recipe for fun creativity and I followed her three steps.
My uncontrollable was sprays & the journal page I sprayed the previous project on. I couldn't call this page trash so my trash was package labels with lots of colour from Dylusions sprays and paints.
Many thanks to Carolyn Dube for all the inspiration.
CJS18 Art Jar Recipe 02
Day 2 with Nathalie Kalbach's Creative JumpStart! A little late posting as January has my immune system doing a little jumpstart of its own, as all the lovely bugs going round are giving me a great workout!
Tina Walker's Art Recipe Jar had me a little perplexed at first, as I wanted to put all my energy into creating not cataloging. I think it's a great idea and I will make one, eventually when I get some time. In the meantime I used her picks excluding the pan pastels as I don't have any.
This was so much fun and a great way to get out of a rut. I loved the nature element and I wonder what other exciting things you could put in your jar.
Thursday, 4 January 2018
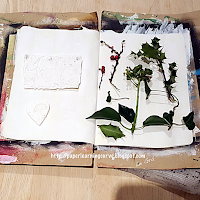
CJS18 Journal Page 01
New Year, New Creations and with that in mind I decided to take part in Nathalie Kalbach's Creative JumpStart! After watching an inspiring video of Mystele Kirkeeng at play I gathered my supplies and gave it a go. Lots of fun seeing where my starting collage led.


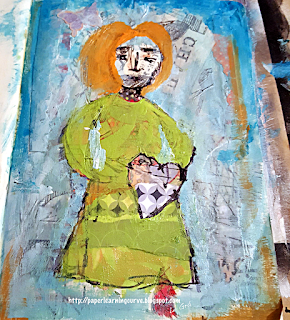
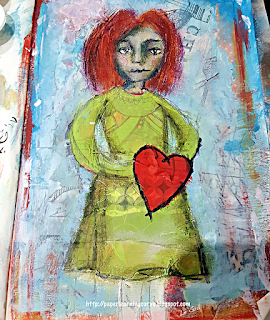
Here's hoping 2018 sparkles for you!
Friday, 4 August 2017
Warmer Inky Dylusions
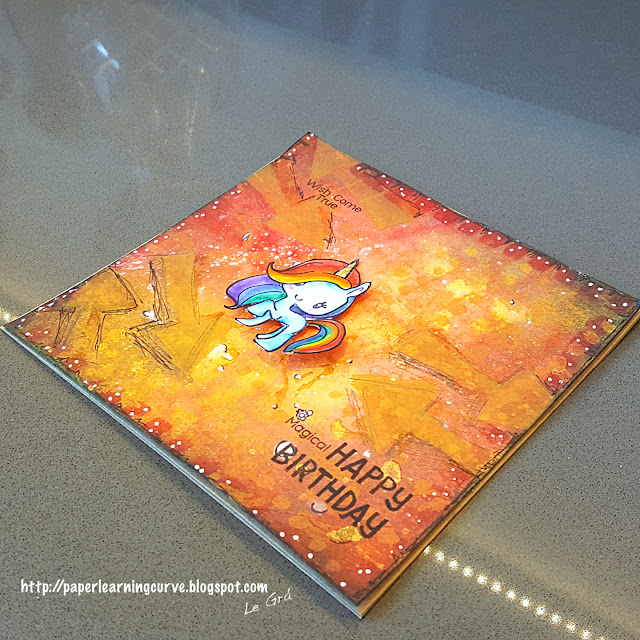
Decided to change my colour palette to warmer tones and to try for a cosmic magical background. This background started life like the last two, but I remembered to use my blender tool with the paint and stencils this time!
Lots of splatters of Dylusions white linen ink and some Heidi Swap Gold Spray, doodling with a white paint pen and black ink pen and some distress inking and crayoning to finish the background.
I topped this card off with a watercoloured little unicorn from The Greeting Farm stamps.
Hope your day has a bit of magic!
Challenges:
Supplies:
Distress Ink
Distress Crayons
Distress Paint
Dylusions Sprays
Heidi Swapp Gold
Primary Elements Powder
Stamps: Lawn Fawn Year Two; The Greeting Farm Magical Friends
Stencils: THMS070; Dylusions Large Arrow Border; Finnabair Alpha, Dots&Stripes
Paint Pen, Black Ink Pen, Graphite Pencil
Primary Elements Powder
Stamps: Lawn Fawn Year Two; The Greeting Farm Magical Friends
Stencils: THMS070; Dylusions Large Arrow Border; Finnabair Alpha, Dots&Stripes
Paint Pen, Black Ink Pen, Graphite Pencil
Thursday, 3 August 2017
Inking Dylusions
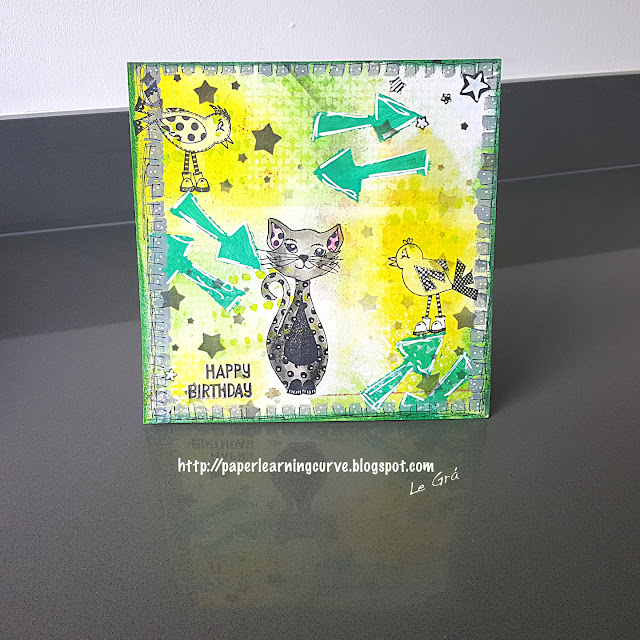
Local Craft Clubs are a great way to give yourself the time, opportunity and encouragement to get crafty. One of the girls was in a Dylusions mood, so I tried to put into practice what I had learned from Dyan Reaveley. However as our time was nearly up and the raffle was ongoing I rushed it a bit. Making the best of it, I decided my arrows were meant to be in the foreground and the thicker than required application of distress paint through the stencil was the desired effect.
I started this background in the same way as my last project, but then hand splattered some water and with a splatter brush straight from the bottle some Dylusions white linen ink. I stamped the Cat and Pigeons in jet black archival ink and watercoloured with distress crayons. In order to get truer colours, I removed some of the background ink with a waterbrush first.
When I got home I finished by doodling with a white paint pen and a black ink pen and edged the card with distress crayon and distress ink. Never one to know when to stop, I felt the card needed something else so stencilled stars with hickory smoke distress ink.
Another fun inky time was had, but I did have some cleaning up to do. Thankfully the inks and paints were all water based so a quick wipe and the club didn't lose their damage deposit!
Happy Inking!
Challenges:
Simon Says Stamp Wednesday Challenge: Splatter It
The Artistic Stamper Creative Challenge: August Anything Goes
The Artistic Stamper Creative Challenge: August Anything Goes
Tic Tac Toe Challenge #tttc009 (diagonal: one layer, distress inks, all things round- lots of dots & spots)
Supplies:
Archival Ink Jet Black
Archival Ink Jet Black
Distress Inks
Distress Crayons
Distress Paint
Dylusions Sprays
Primary Elements Powder
Stamps: Dylusions Cat Among the Pigeons, Lawn Fawn Year Two
Stencils: THMS070; Dylusions Large Arrow Border; Finnabair Stars, Dots&Stripes
Paint Pen, Ink Pen
Distress Paint
Dylusions Sprays
Primary Elements Powder
Stamps: Dylusions Cat Among the Pigeons, Lawn Fawn Year Two
Stencils: THMS070; Dylusions Large Arrow Border; Finnabair Stars, Dots&Stripes
Paint Pen, Ink Pen
Dimensional Background Inking
After a little sabbatical from the blog I'm hoping to jump back in. While I was absent I was immersing myself in all thing Tim Holtz and Dyan Reaveley. So I thought I would start off with some layered mixed media backgrounds. Once I started it was difficult to know when to stop layering- its such messy fun! I took Dyan's advice and had extra card available to soak up the extra ink. I now have a few backgrounds already started for another project. Time efficient and a great idea.
Here's how I went about it:
I chose some cool coloured spray inks and liberally covered the cardstock, mopped up the excess ink with kitchen roll and an extra piece of card. Some stencilling and ghosting with water then stencilling with distress paint. this is now at about 5 layers. The paint dried quickly enough and I could move on to the next step.
I embossed a piece of the background with my favourite Tim Holtz embossing folder (well one of my many favourites!) and then trimmed it to size.
Next I used distress crayons to highlight the lovely embossed texture, but I couldn't stop there and added crackle medium on top. This also acted as a glue for the diecut happy birthday.After leaving it overnight to dry I used a white picket fence distress crayon to emphasise the cracked surface.
For the little robot I created an alcohol ink background and heat embossed the Lawn Fawn stamp with Ranger Liquid Platinum embossing powder. A white linen Dylusions spray splattered kraft card base adds the finishing detail.
Another look at the finished card:
This card came together quite quickly and I was happy to leave the crackle medium to dry over time as I love the result which is subtly different to other crackling products. Cleaning up the excess ink with extra cardstock also means you get more pieces to play with at a later date. I've used a simple diecut sentiment and the little robot for a masculine industrial feel.
Any queries let me know. Hope you can find some time to play too.
Challenges:
CAS Mix Up August Challenge: Stamping + Alcohol Inks + Your Choice (embossing)
Muse Challenge #227: Anything Goes
Simon Says Stamp Wednesday Challenge: Splatter It
Stamps & Stencils Challenge: Technique School
Supplies:
Alcohol Inks: Citrus, Mushroom, Patina, Pool, Purple Twilight, Silver Mixative
Distress Embossing Ink
Distress Crackle Medium
Distress Crayons
Distress Paint
Dylusions Sprays
Primary Elements Powder
Embossing Powder: Ranger Liquid Platinum
Embossing Folder: TH Riveted Metal
Stamps: Lawn Fawn Beep Boop Birthday
Dies: TH Handwritten Celebrate
Stencils: THMS070; Dylusions Large Arrow Border; Finnabair Harlequin, Stars, Dots&Stripes
Paint Pen
Subscribe to:
Posts (Atom)


